How to drive a dog sled safely
Driving your own dog team is one of the most exciting ways to experience Lapland. From the passenger seat, it can look wonderfully simple: the dogs run, the sled glides, and the forest passes quietly around you.
Then you step onto the runners and realise that you are not just standing there for decoration.
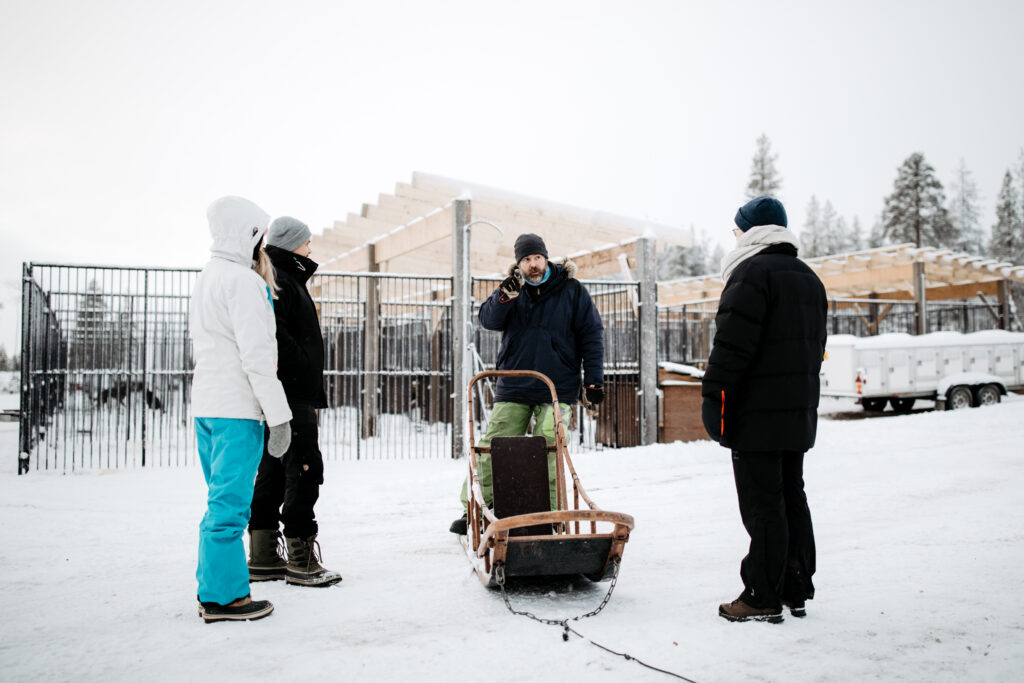
On a self-driven husky tour, the driver controls the speed of the sled, keeps a safe distance from the team ahead, helps the dogs when needed, and looks after the passenger sitting in the sled. It is an active experience, but not to worry, you do not need previous mushing experience. Before the tour begins, our guides will show you how the sled works, explain what to expect, and make sure you understand the safety instructions.
There is quite a lot we could tell you about sled driving. Fortunately, the most important part can be reduced to three very simple rules:
Never let go. Use the brake. Have fun.
Rule 1: Never let go
This is the most important rule of all.
Our dogs love to run. A sled without a driver becomes lighter, faster, and much more difficult to control. If you let go, the dogs will not stop and wait politely for you to catch up. They will continue down the trail with your passenger – and without anyone controlling the sled.
That can be very dangerous for the dogs, the passenger, and the other teams around you.
Keep both hands on the handlebar and remain with your sled at all times. Do not step away to check something, take a photograph, fix your hat, or visit the dogs unless a guide or safety person has secured the team and told you that it is safe.
This also means no phones while driving. Lapland is beautiful, the dogs are beautiful, and we understand the temptation to document every second. But the person sitting in the sled is in a much better position to take photos and videos. The driver’s job is to pay attention and to keep hold of the sled.
During a planned driver change, one person must remain in control throughout the entire switch. Keep one hand on the handlebar and one foot on the brake until your guide has shown you how to change places safely.
In other words: the sled is your responsibility from the moment you take your position until a guide tells you that you may leave it.
Rule 2: Use the brake
The dogs already know how to go. Your main job is learning how to slow them down.
The brake is how you control your speed, protect the dogs, and maintain a safe distance from the sled in front. Apply gentle pressure with one foot when you need to slow down. When you need to stop, place both feet firmly on the brake and keep them there, standing with your full weight on the brake.
A stopped dog team is not the same as a parked car. The dogs may be standing quietly one moment, but leaning into their harnesses the next. Whenever the sled is stationary, stay on the brake until the guide tells you to move again.
Use the brake early and smoothly, especially on downhill sections. Waiting until you are already travelling too quickly makes everything more difficult. On an uphill, the dogs generally need your help rather than additional resistance. You may need to kick alongside the sled, or push it while keeping a firm hold of the handlebar.
The brake is also how you maintain the correct distance between teams. Keep approximately five metres – or the distance specified by your guide – between your sled and the team ahead. If they slow down, you slow down. If they stop, you stop behind them with enough room for the dogs and sleds to remain safely separated.
Never overtake another team unless a guide specifically instructs you to do so.
Keep an eye on the line connecting the dogs to the sled as well. It should remain stretched out. If the line starts to become loose, use the brake immediately. This prevents the sled from catching up with the dogs and reduces the risk of lines becoming tangled.
Should your team leave the trail or become separated from the group, stop the sled, stand firmly on the brake, and wait for a guide or safety person to reach you. Do not leave the sled and attempt to solve the situation yourself.
Rule 3: Have fun!
After the first two rules, this one may sound suspiciously easy.
But it matters.
Our dogs love their work, and the driver has a responsibility to help keep it enjoyable for them. Dog sledding is not about simply being pulled through the forest. You and the dogs are working together as a team.
Stand with one foot on each runner, keep your knees slightly bent, and try to remain relaxed. A flexible stance makes it easier to absorb bumps and balance through corners. Look ahead rather than down at your feet, take wide turns, and shift your weight gently in the direction of the bend.
Help the dogs on uphill sections. Encourage them, but do not shout at them. They are already enthusiastic enough, especially at the start, when the kennel can become very noisy as every dog announces that they would like to start running now.
Keep your speed steady, follow the guide’s hand signals, and make sure your sled never comes into contact with your own dogs or the team ahead. A safe, considerate driver makes the experience better for everyone, including the dogs.
And remember that driving a sled is a physical activity. You may need to balance, brake, push, and occasionally work harder than expected. That is not something going wrong. That is part of being a musher.
The third rule does not cancel the first two. Quite the opposite: when you hold on and use the brake properly, having fun becomes much easier.
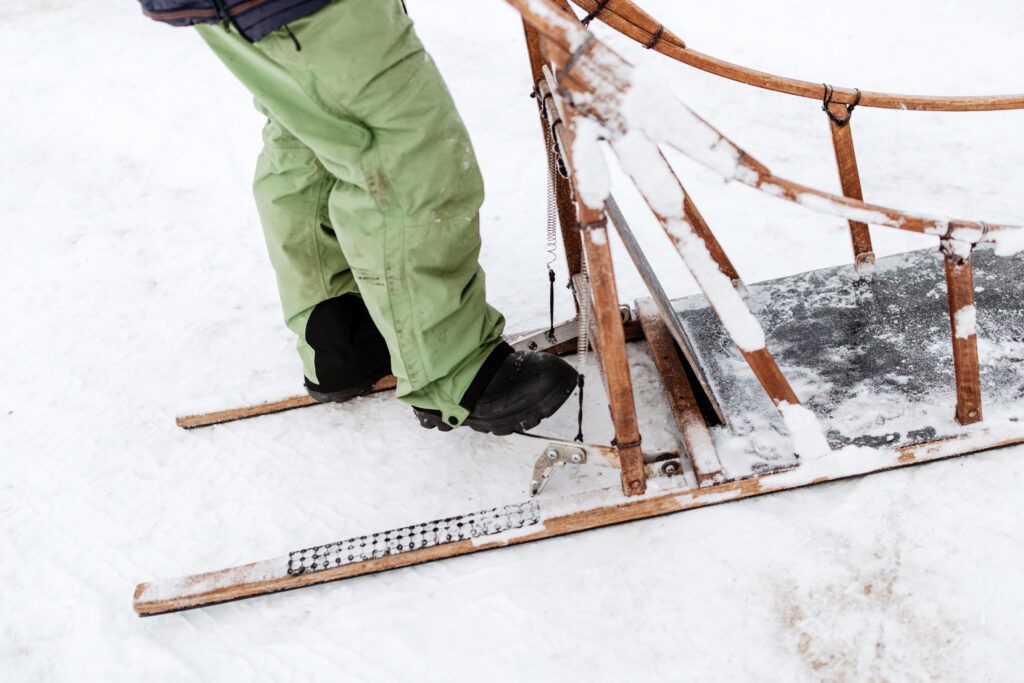
Listen first, drive second
Before departure, your guide will demonstrate the equipment, explain the route, show you the hand signals used on the trail, and answer any questions. Listen carefully, even if you have driven a dog sled somewhere else before. Sleds, trails, dogs, and safety procedures can differ between kennels.
The starting area may be loud and exciting, but this is the moment to concentrate. Take your position as soon as your team is assigned, stay ready on the brake, and watch the guide. There will be time for photographs, cuddles, and meeting the dogs after the tour.
Once you are moving, the three rules are all you really need to keep at the front of your mind:
Never let go. Use the brake. Have fun.
Remember those, follow your guide, and you are already well on your way to becoming a safe and considerate guest musher.
See you on the trail!
If you would like to learn more, watch the video below!